Actions Scheduler
The scheduler actions allow you to perform certain actions on your account at regular intervals. For example, suppose you want your account be able to send a message every 1h to another account. You can do this using the Action Scheduler.
To create and action scheduler, you have to be logged into your business account on PC App; then go to the business tab and click on "Actions Scheduler".
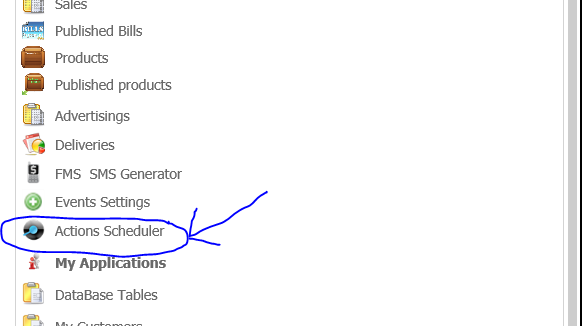
After clicking on it, you'll see this view below!
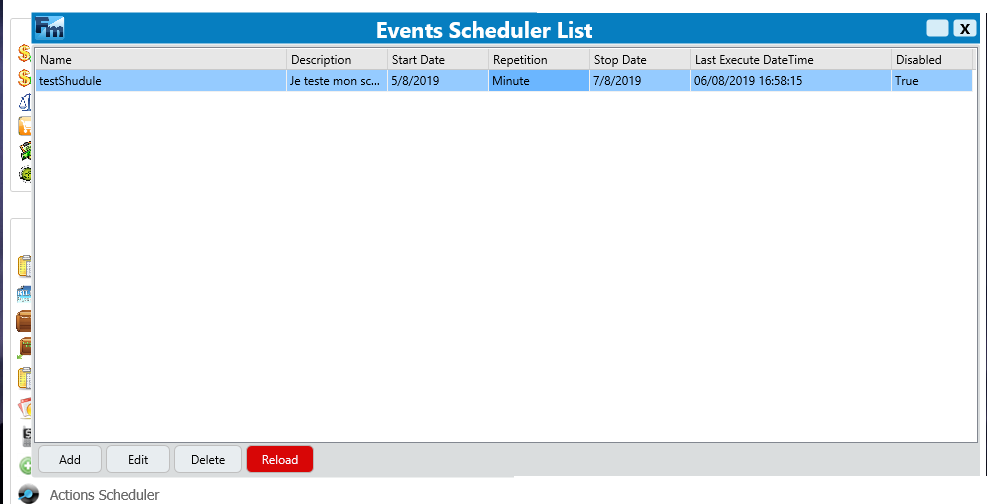
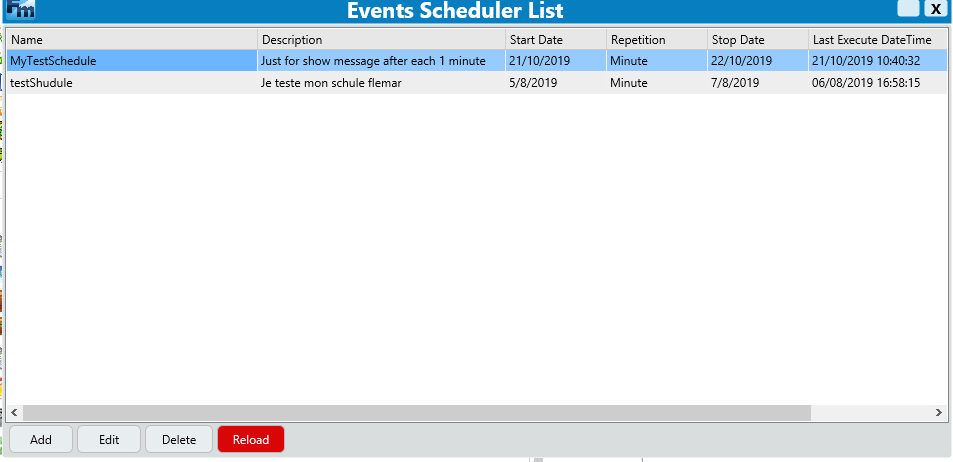
You can see that i have already one scheduler into my list of schedule. So let's create one schedule. Click on "Add" button. After it, you'll see interface below!
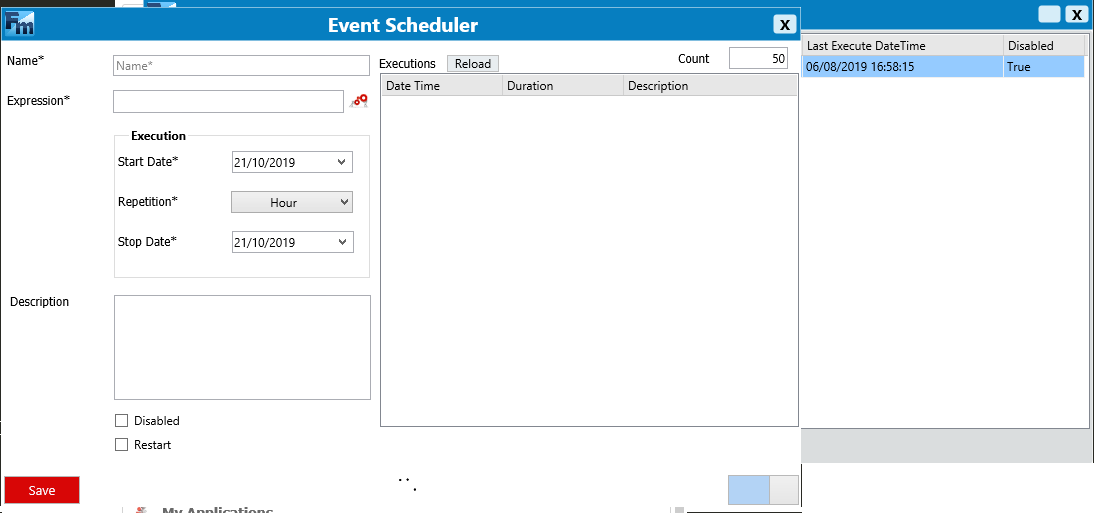
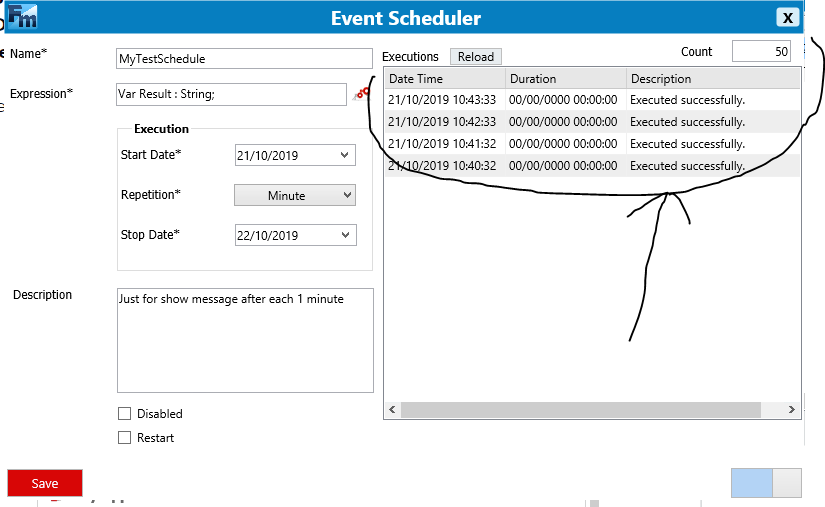
Let's describe fields that you see on this view:
-Name: The name of your schedule.
-Expression: it is here that you will write the code of your schedule
-Start date: this is the date from which your schedule will start executing
-Repetition: this is the execution time interval of your schedule
-Stop date: that's when your schedule will stop
-Description: A short description of your schedule -Disabled: Disable your schedule -Restart: Restart your schedule
Let's fill these fields
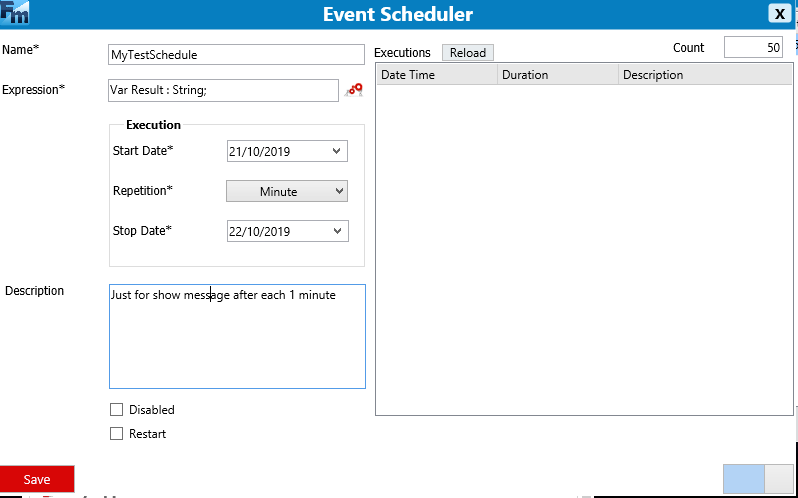
In "Expression" field, write this code below!

After it, click "Save" button, and you'll see that your new schedule appear in list of your schedules.
